Full disclosure – I am experiencing imposter syndrome writing this blog since my mother, a home economist and master of home preservation, is the real diva who has taught me everything I know about preserving food. She should be writing this blog but she flat out refused so I guess it’s up to me! Ha! I give you my ultimate guide to freezing food.
There are many ways to preserve fresh food: drying, pickling, canning and freezing are just a few examples of the ways you can capture the bounty of the summer harvest. My hope is to cover at least a few of these methods on the blog over the next year, and my choice to start with the topic of freezing is mostly because I think it’s one of the simplest methods and it requires the least equipment.
By the end of reading this, you will have all the tips and tools that you need to dive right in and buy that bushel of beans or flat of blueberries at the market this weekend and get them nestled into your freezer for the fall and winter.


Before I share my process for freezing fruits and veggies, you might have a few questions circulating in your head, such as:
Why the heck would you want to freeze food when you can buy large bags of frozen fruits and veggies at Costco for a decent price?
Great question. To be honest, sometimes I ask that question myself.
At the end of the day it comes down to one simple fact – it gives me joy.
As a farmer’s daughter, I’m hooked on the high that comes from planting a seed and watching that seed bud into a plant which produces a fruit or veg that can then be harvested, preserved and eaten any time of year. It’s a beautiful cycle. It reminds me of how we are at the mercy of creation to grow and produce food. It makes me aware of how lucky we are to have access to fresh food year-round.
Here are a few other reasons why I choose to freeze food:
- I have a garden and so the veggies that we grow are essentially “free” (aside from the back-breaking labour!) and preserving them gives me an affordable way of helping to feed my family
- I like knowing where my food comes from – whether from my garden or a trusted vendor at the farmer’s market
- It’s just something I have always done; it’s like brushing your teeth before bed – it’s a habitual reflex that keeps coming back to me every summer
What are the health benefits (or other benefits) of freezing food?
Certainly, there are many benefits. Here are the top ones that come to mind:
- Quick, easy and convenient. You can often find us doing a batch or two of a veg or fruit most evenings during the month of August once the kids are in bed. It doesn’t need to take more than an hour and requires very little prep/clean-up. As I write this my husband is cooking beets!
- Requires few supplies. As you will see from our list below, aside from potentially not having a blanching pot, you likely have everything else on hand already.
- Cheap/affordable. Whether your produce is free from your garden or you are buying it at the market, I like to think that you save money. Case in point, I spent $10 on a bushel of red peppers last year that I froze for soups, stews, sauces, pizzas etc. On the flip side,in the middle of the winter I can spend $10 on 4 peppers! That’s a huge savings. Plus, we’re eating local Ontario peppers, not peppers shipped in from hundreds, if not thousands of miles away.
- Superior nutritional quality. Whether you freeze your own food or buy frozen food, the produce is picked at peak ripeness and retains much of the original nutritional value.
How does freezing work?
Freezing works to preserve food by reducing the growth of microorganisms that cause food spoilage. When food is put in the freezer at -18 degrees Celsius or colder, most growth of yeasts, bacteria and molds stop. Freezing also works to slow the activity of enzymes naturally present in food that cause ripening.
What is blanching? Do you have to blanch all fruits and vegetables before freezing?
Blanching is the practice of immersing a vegetable (or sometimes fruit) in boiling water for a brief period, followed by the immediate dunking in cold water to stop the cooking process. This procedure deactivates the enzymes that are present in food, which, overtime, could cause unpleasant changes to your food with respect to flavour, colour or texture.
Most vegetables need to be blanched but fruit generally does not require this step before freezing (with a few exceptions).
Each vegetable (or fruit) has a very specific blanching time (time that it needs to be in boiling water). Try to follow this as precisely as possible as overcooking can compromise flavour and nutrient content and under-blanching will not kill all the enzymes that we want it to.
For my blanching times I use the following two websites:
National Centre for Home Food Preservation
University of Saskatchewan
Regardless of what charts you look up, you will see some variation in blanching times and when you should start counting the blanching time from. Just choose a methods/system and stick with it. Don’t overthink it.
Let’s move forward now with what you need to have on hand to freeze fruits and veggies.
Equipment shopping list for freezing food:
- A few cheap cookie sheets: They will be going into the freezer, not the oven. Two or three will do – all depends on how much space you have in your freezer to accommodate cookie sheets.
- Freezer bags: These come in various sizes. I typically freeze food in the larger freezer bags with a zip lock top. HACK: when I need smaller bags, I use milk bags (which I cut open at one end and wash and keep all year long until the summer). Yes, this might sound overly frugal, but they are extremely durable and great for smaller portions for corn or peppers.
- Parchment paper: This gets placed between your cookie sheets and the fruit or veg (you’ll see why later). HACK: I save some of the cereal bag liners, tear them open and use those so that I don’t have to buy parchment paper. Works like a charm. Or you can likely use silicone baking mats too … I haven’t tried that yet so let me know if it works.
- Blancher: This will be your largest expense, although it shouldn’t run you more than $20-$40. A blancher is a big pot with an insert – basically like a pasta pot. I bought mine at a small town general store in the middle of nowhere where they sell everything from suspenders to doilies. A local hardware store, kitchen store or the largest online retailer (you know who!) will have it too!
- Old tea towels: Don’t get fancy here. You just need something to blot your veggies or fruit dry before they go into the freezer.
- Bags of ice: Grab a few to have on hand. The number you require depends on how much freezing you are going to do at one time.
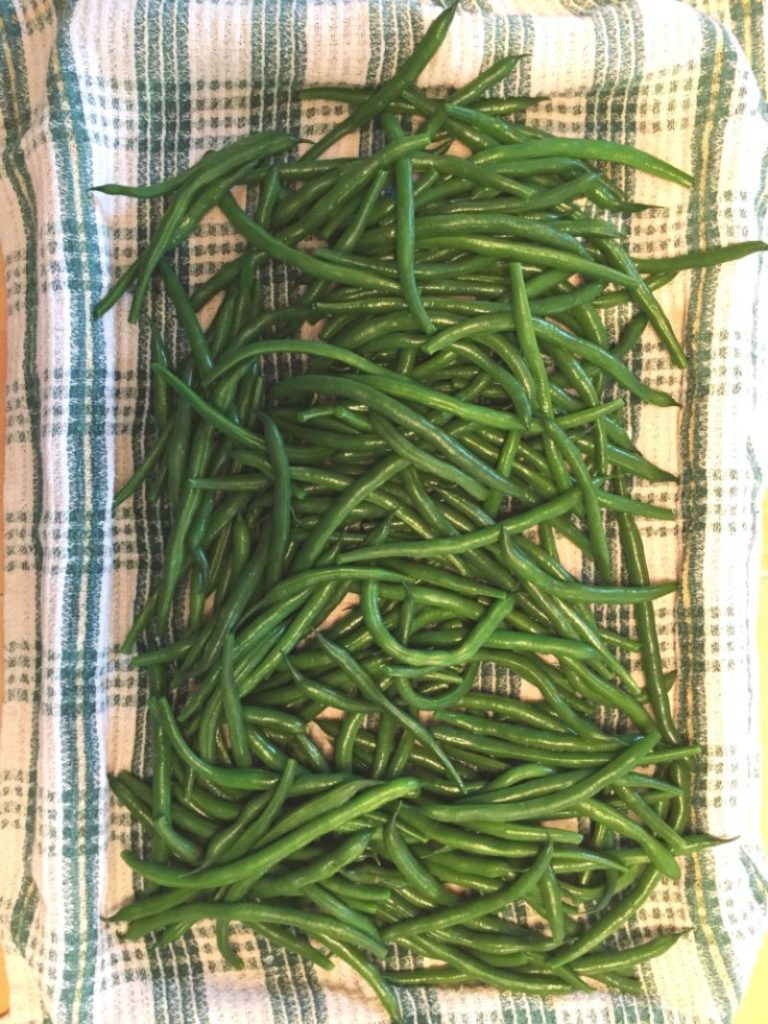
Alright, so you have assembled all your stuff and you’ve got some beauty green beans in your garden that you would like to freeze … what’s next?
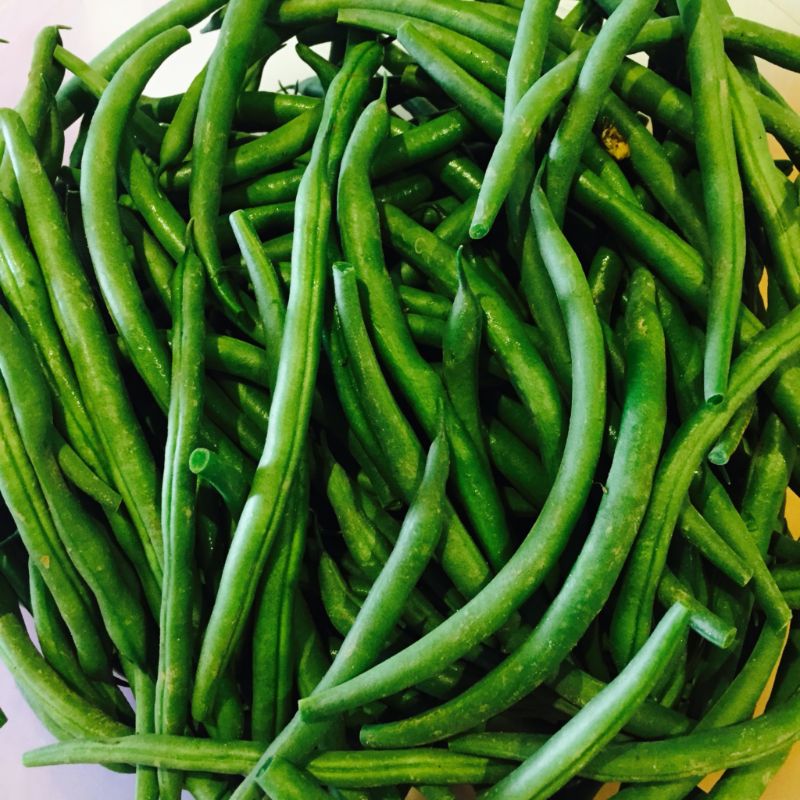
How to freeze – using green beans as an example:
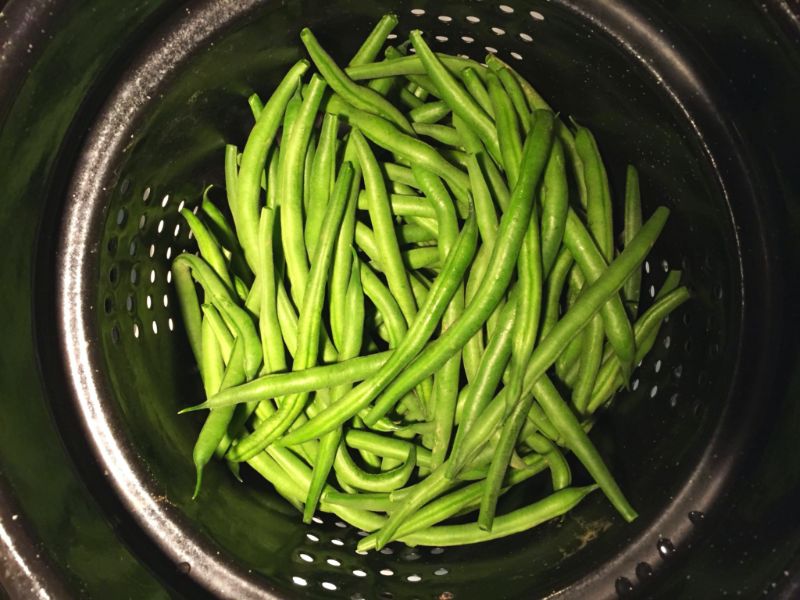
- Gather your beans and trim off the top end (and bottom end too if you like). If you want smaller beans, cut the beans into whatever size you like right now, or simply keep them intact/long.
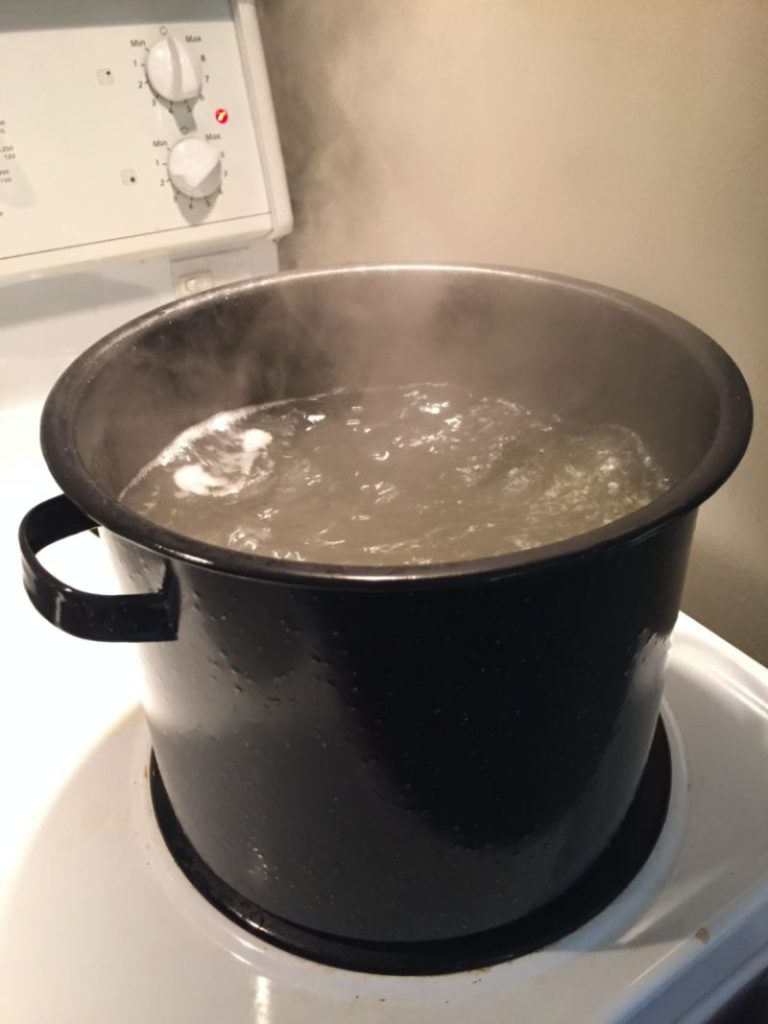
- Grab your blancher, place the colander insert inside and fill with water, leaving enough space so that once you put your beans in that the water won’t overflow. Take the insert out now and bring the pot of water to a vigorous boil.
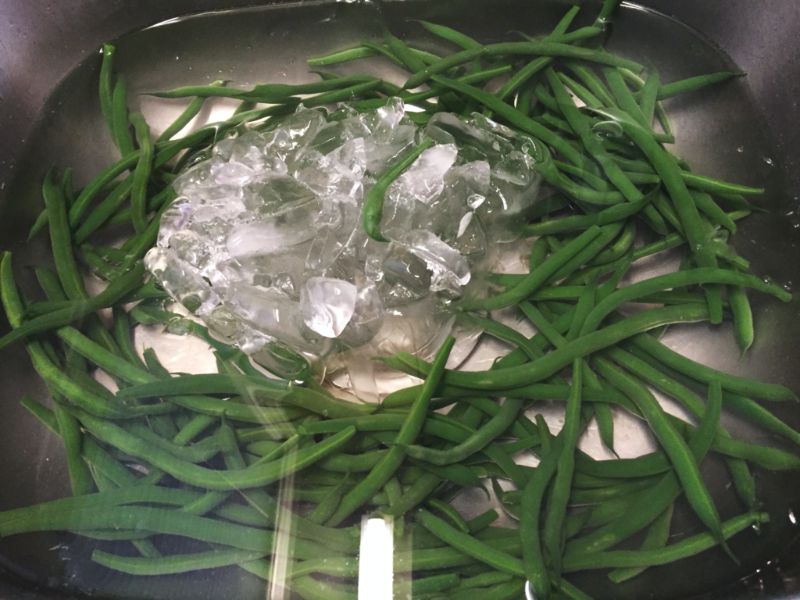
- While the water is heating up, prepare your clean kitchen sink or an oversized bowl with cold water and ice cubes. You will need this ready as soon as your beans are done blanching.
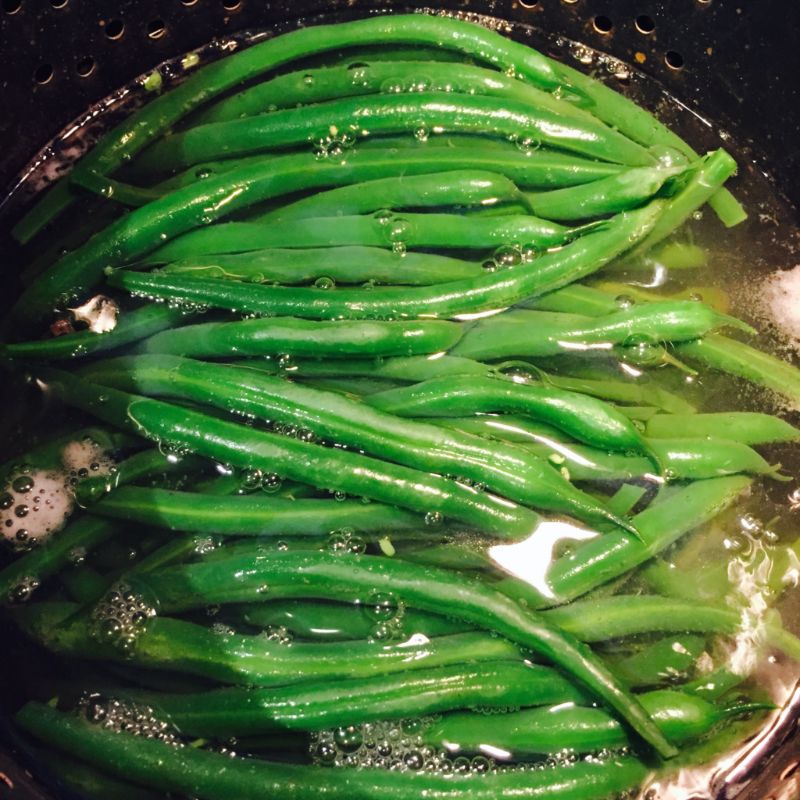
- Once water is vigorously boiling, place beans inside the colander insert and lower into the boiling water. Once the water returns to a boil, start counting blanching time. Keep the heat on high for the entire time – no longer, no shorter.
- Once time is up, remove insert with beans inside and empty them into the prepared sink or bowl filled with cold water and ice cubes. Keep beans immersed for a similar amount of time that they were blanched for.
- Remove and drain beans from the cold water and place on some old towels and pat dry to remove any excess moisture.
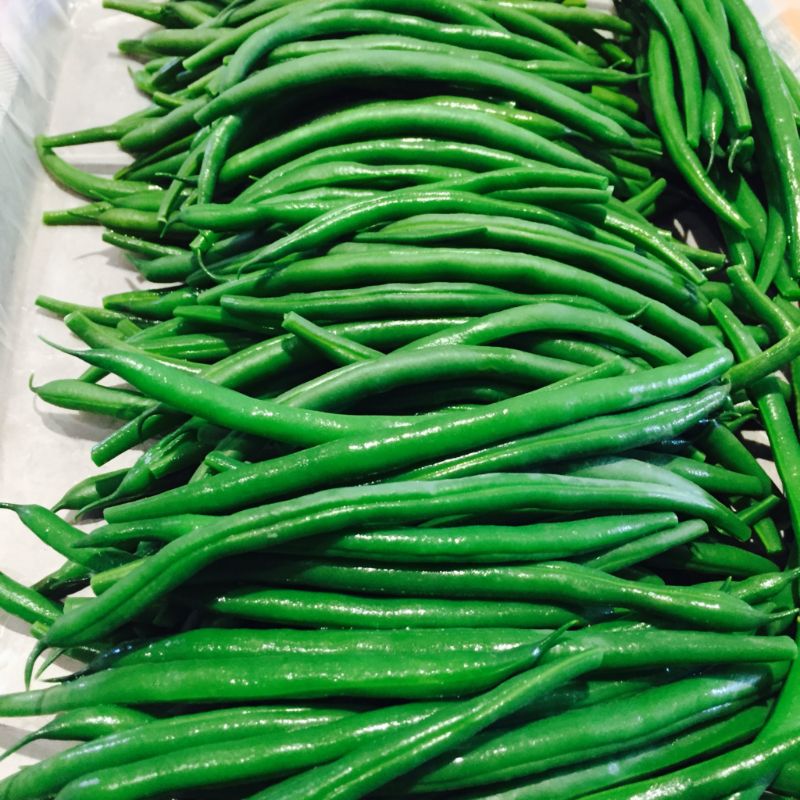
- Prepare cookie sheets with parchment or wax paper and move beans to the cookie sheets. if using whole beans, it works best to orient all the beans in one direction, so that you can maximize the number of beans on a tray. Don’t worry about having a few layers of beans on top of one another, this will be fine. Once cookie sheet is full, move it to the freezer right away and allow beans to freeze. (P.S. You can skip this step and just put the beans in a bag right away but then they will freeze in one giant clump and will be impossible to break apart. I do this step so that I can freeze in large bags and just remove a certain portion that I want to heat up for supper).
- After a few hours or once completely frozen, transfer beans into a freezer safe bag, seal tightly, label with date and place in freezer for long-term storage, around 1 year.
What I like to freeze:
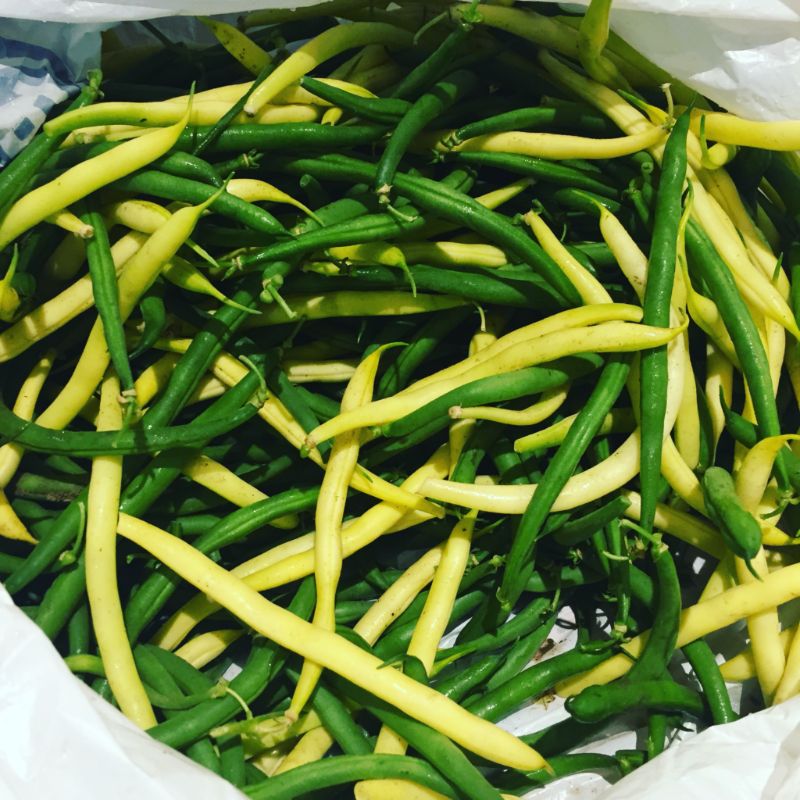
Long green beans in large freezer bags. beans freeze well and cook up really nicely for a winter Saturday night meal with friends. I sometimes freeze some diced green and yellow beans that are nicer to throw in soups and stews but keep most in the long form.
Sweet corn in small freezer bags. I freeze sweet corn in smaller 1 cup portions to throw in soups or stews, 3 cup portions for our little family of 4 for dinner, or 6 cup portions if having a larger crowd over. Corn is the one vegetable that I don’t bother to freeze separately on cookie sheets first but instead measure out the portions that work for me and put directly from the blanching process into milk bags. It freezes together as one big clump but that doesn’t matter to me because I always want to thaw the full amount in the bag.
Peppers in large or small freezer bags. Just recently I started to freeze bags of diced bell peppers of all colours for soups, stews, pizzas etc. This has made a world of a difference when cooking as I find that so many recipes we make require diced pepper in them. I also slice some peppers to make fajita kits with all different coloured peppers (pictured in the intro). P.S. No blanching required for peppers! Yippee!! Just cut and freeze!
Beets in large freezer bags. I typically do only 1 or 2 large bags of beets cut into chunks that I can either cook up to eat as a side dish (TBH, this doesn’t happen often) or thaw and puree to put in baking or smoothies (this happens more often). Beets need to be fully cooked, peeled and then sliced/diced before freezing so no blanching here either but cooking beets can be a messy process. Don’t wear white!
Kale in large freezer bags. As you may have seen on my instagram feed, we have an overabundance of kate. So it ends up in the freezer too. Once frozen, kale becomes brittle, so it typically ends up in soups, stews and smoothies.
Parsley in small or large freezer bag. We grow parsley in our garden and I hate to see it go to waste so I wash and finely chop this up, freeze on a cookie sheet, then pack into a bag so that I have easy access to fresh parsley for my soups in the middle of winter.
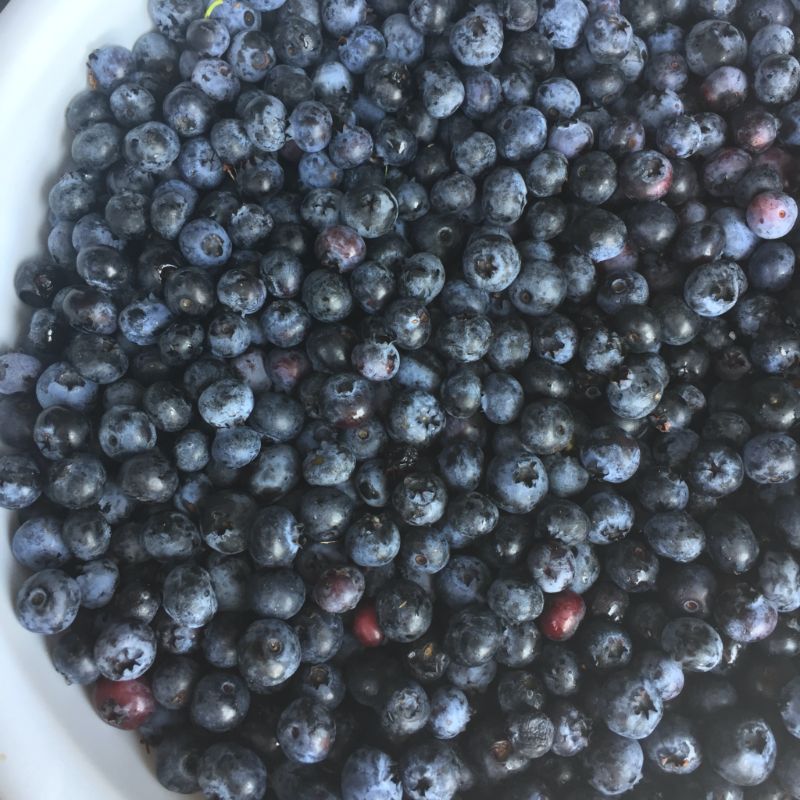
Blueberries in a large freezer bags. Blueberries are the easiest berry to pick – no thorny bushes and you can stand to pick them! They are easy to freeze and require no blanching. I predominantly use them in baking or smoothies through the winter. Other fruits that I have frozen from time to time include strawberries, raspberries and peaches.
What fruit or veggie will you start with?
Take it one bite at a time,
Rosanne