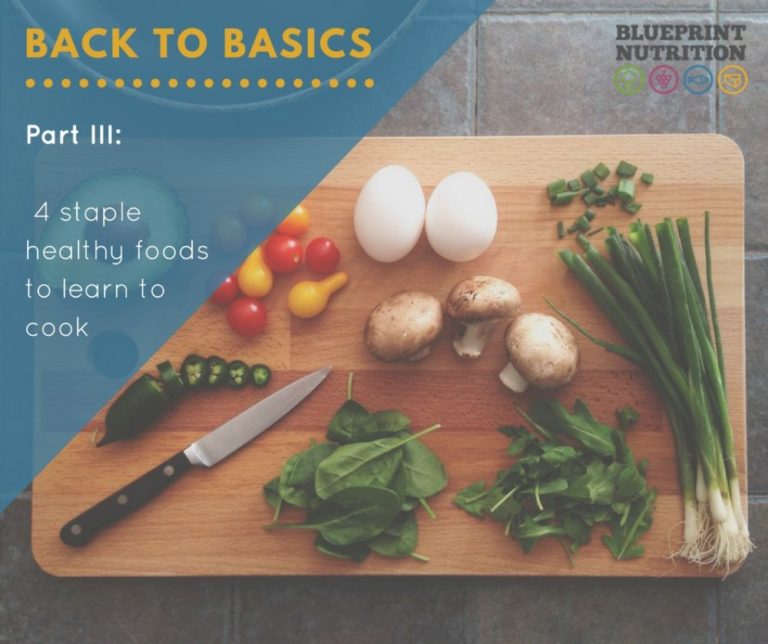

Grab your apron, it’s time to cook some healthy staple foods!
(P.S. If you haven’t already, head back to Part I and II of this four part blog series to discover the right kitchen tools and food to have on hand for healthy cooking!)
Now that you have a good assortment of the kitchen gadgets and healthy food on hand, you need to know what to DO with them to make them work FOR you, not just become a space-occupying lesion in your home! Don’t worry if you aren’t the greatest cook or burnt the piece of toast you had for supper last night. Cooking is like anything else in life, it’s best learned by diving in! Who knows? You may even discover a new-found passion or talent!
One disclaimer, as I have mentioned before, I am a dietitian, not a chef … although, perhaps a chef-wannabe some days! I have learned how to cook the basics over my lifetime, starting as early as I could stand on my own two feet in my mother’s kitchen. Whatever I didn’t learn from my mother, I learned from my own interest in and desire to cook healthy food for myself, then my husband and I, and now my family.
When I think of cooking “basics”, I think of a few staple things that I make time and time again, on a daily or weekly basis. So I thought it would be fitting to share with you four essential recipes to get you started on step number three of getting back to the basics in the kitchen.
1) HOW TO COOK A CHICKEN ROAST:

As many of you know, I am a proud farmer’s daughter and grew up on a pork farm in Southwestern Ontario. As such, I have had my fair share of pork roasts throughout the years, as well as poultry and beef roasts. The freezer at home always had an abundant supply of good quality, locally-raised meats on hand.
I always thought it strange that my mom would cook a roast on a weeknight. But now as a mom myself I completely understand her logic … cook once, eat twice! If you cook a roast you will undoubtedly have leftovers for meals all week long … unless you have a household of four teenage boys… then you might just eat once 🙂
Today, the most commonly cooked roast at our house is a chicken roast. I cook it on the weekend or early in the week and reap the rewards by having chicken meat to make numerous other dishes during the week including soups, stews, curries, fajitas, quesadillas, sandwiches, and salads etc.
I am no Jamie Oliver or Chef Michael Smith, but here is my take on how to roast a chicken!
What you will need:
- Whole chicken (3-4 pounds)
- Extra virgin olive oil
- Salt and Pepper
- 2 medium onions
- 2 medium carrots
- 2 stalks celery
- A few cloves to one bulb garlic
- Mixed fresh herbs (i.e. thyme, rosemary, bay, sage)
- Lemon or orange (optional)
- Potatoes (optional)
How to cook it:
- Preheat oven to 350F (you can adjust up or down as desired).
- Be sure to fully thaw your roast in the fridge prior to cooking, if it isn’t already.
- Lightly rub the chicken with olive oil and season with salt and pepper.
- Place the chicken in a roasting pan (see part I of this blog series for suggested pans)
- Add some water to the bottom of the pan, approximately 1-inch up the side of the pan.
- Wash and roughly chop the veggies and place around and/or under the roast. If you want to get fancy, prick a lemon and place it inside the cavity of the chicken with some of the fresh herbs. Add potatoes to make this a one pot dish! Done and done!
- Place in the oven and cook until thermometer reads 180F (82 C), which is about 1.5 to 2 hours for a 3-4 pound bird.
For a chart on internal cooking temperature for meats, click here.
2) HOW TO COOK LENTILS:
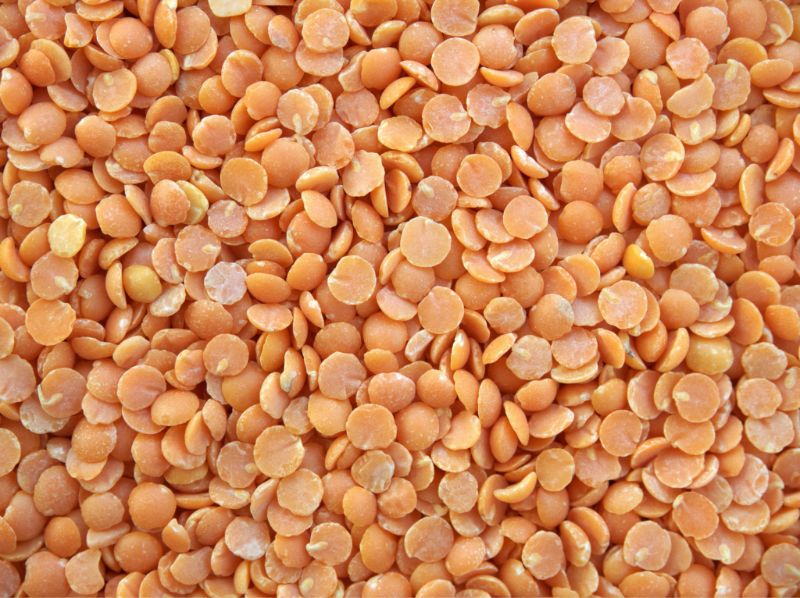
If you’re trying to increase your consumption of plant-based proteins, then you should become well acquainted with lentils, which are also referred to as pulses. Pulses are one part of the legume family and include not only lentils but also dried beans, dried peas and chickpeas.
Lentils are incredibly cheap and easy to cook and use as a meat-substitute. You can buy a 450-900 gram bag of lentils (organic or conventionally grown) for less than $3! No joke! Don’t be intimidated to cook these up for a super quick weeknight meal. Here’s how I cook them in a flash:
What you will need:
- 1 cup lentils
- 3 cups water or broth
- Salt (optional)
How to cook it:
- Rinse lentils in a fine-meshed sieve to remove debris.
- Grab a medium-sized pot and add 3 cups of water (or stock) to 1 cup of dry lentils.
- Place lid on the pot and bring to a boil. Once boiling, reduce heat and simmer until tender. 1 cup of lentils usually takes about 15-20 minutes.
- Drain and use as desired!
Be sure to season lentils with salt after you cook them because adding salt to the cooking water can cause the lentils to toughen.
No time to cook lentils? No prob. You can buy them canned. Rinse under water to help remove some of the sodium content for a heart-healthy choice.
I think that the easiest way to start to add lentils to your meals is to replace ground beef in your spaghetti sauce with cooked lentils. I do this frequently and the kids love it equally compared to spaghetti with ground beef or ground chicken. Want to learn how to cook more beans and lentils? Visit Pulse Canada for more information.
3) HOW TO MAKE A VINAGRETTE DRESSING
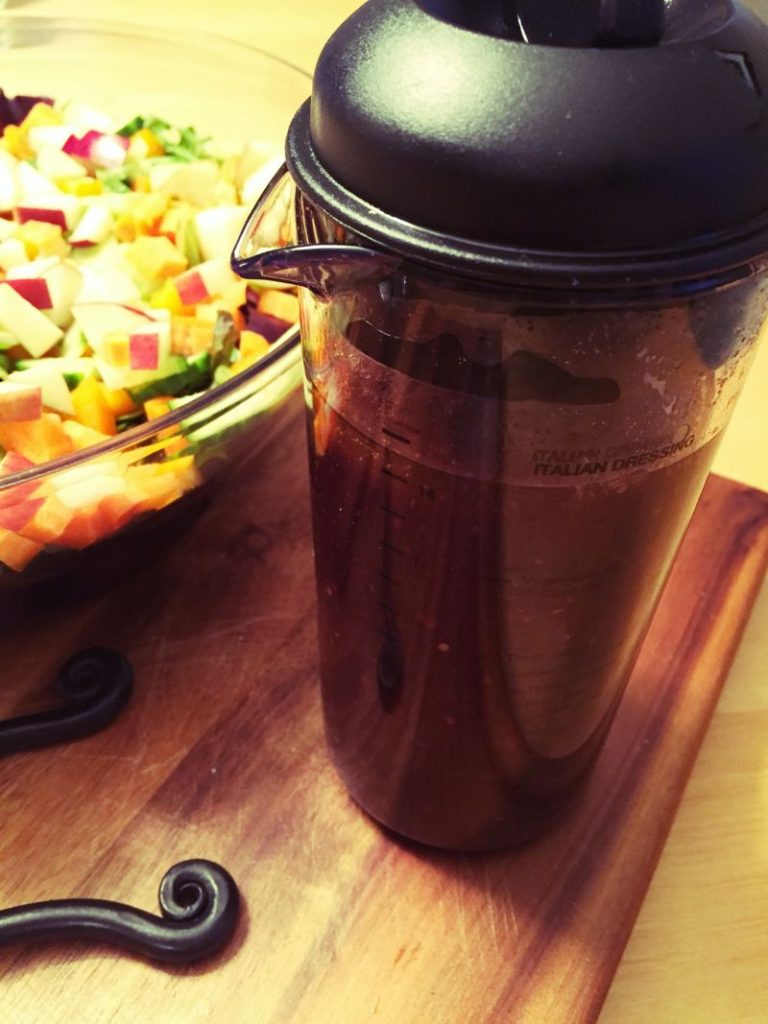
Don’t settle for the tasteless low-fat salad dressing on the supermarket shelves. Who wants to pay $3 or $4 for water, sugar, soybean oil and a dash of preservatives? Blah. Not me.
Making your own salad dressing is incredibly simple and very easy to do. There are so many different recipes that you can find online. My go-to salad dressing is one that I inherited from my mother-in-law.
What you will need:
- 1 cup extra virgin olive oil
- ½ cup balsamic vinegar
- ¼ cup water
- Salt
- Pepper
- Grainy Dijon Mustard
- 1-2 garlic cloves, minced or crushed
How to cook it:
- Find a glass jar with a tight fitting lid or salad dressing container with a lid or pump.
- Combine the balsamic vinegar, olive oil and water in the jar. (The standard ratio for making salad dressing is 3 parts oil to 1 part of vinegar. I like a more tart dressing so I use a 2 to 1 ratio of oil to vinegar with a wee bit of water. The choice is yours.)
- Add a dash of salt and pepper, a squeeze of Dijon mustard and as much garlic as you can handle.
- Shake or whisk together and serve.
4) HOW TO COOK WHOLE GRAINS (i.e. rice, quinoa, oats etc.)
Cooking whole grains occurs on a daily basis in my house. There are two ways that I approach the cooking of whole grains: 1) the old-fashioned stove-top method or 2) the lazy-man’s instant cooker method. Here’s what I find works for me.
The old-fashioned method (preferred method for oats)
- Add two parts water to one part oats (i.e. 2 cups water to 1 cup oats).
- Cook on medium-high heat until all of the water has been absorbed by the oats.
- Go “nuts” with the toppings!! You can add all kinds of mix-ins including: fresh fruit (mmmm blueberries), dried fruit (raisins are a hit with my kids), nuts of any sort (I love almonds or walnuts), seeds (chia, hemp and flax seeds are great), and nut butter (peanut butter with mashed banana is wonderful).

The lazy-man’s method (preferred method for rice & quinoa)
- Buy a rice cooker or instant pot.
- Open the instruction manual and follow exactly what they say to do.

This may seem like such a cop out but as I said in my first blog post, we use our rice cooker daily for cooking grains. It always turns out perfectly and I don’t have to worry about anything once I have the grain and water in the pot. The financial investment in the cooker yields reduced active cooking time for me which is important with young kids grabbing onto my leg the entire time I’m in the kitchen. (I’m starting to wonder if that will ever stop…)
Still not inspired to cook?
No problem. It’s the dead of winter in January. I get it.
Don’t worry though, there are many more sources for inspiration!
Sign up for a cooking class! Locally, there are many grocery stores that offer classes (including Loblaws and Sobeys) for a steal of a deal, as long as you are okay with listening to them endorse their store-brand products. There are also many independently run cooking studios where you sign up for a theme night. I think that either of those options would make a lovely evening out with a friend.
Can’t even think about leaving your home with the snow right up against your door? Tune into one of the kazillion cooking shows on TV and make note of a few different recipes to try.
More of an internet feind than TV addict? Search the web for some new recipes to try. Not only can you find recipes but so many chefs are making videos of their recipes to provide a visual of the process. Sort of like bringing cooking class to the comfort of your own home!
The nuts and bolts:
Become confident learning how to cook a few basic healthy staple foods in the kitchen and you’ll blossom in your skills from there. Don’t forget, practice makes perfect!
Take it one bit at a time,
Rosanne
Here are links to the other blogs of this series: